
Engine Science: Rewind Your Small Tractor Engine Stator - Charging System Repair
Engine Science: How to Rewind Your Stator
by Norman Ng, Founder of iSaveTractors
Your engine’s stator produces electricity to keep your battery charged and your engine running. Sometimes a short will occur, and your stator will fail. You may be lucky and find a used or new replacement stator, but in many cases they just don’t exist anymore. Many tractor enthusiasts install external alternators as a remedy however these alternators alter the aesthetics and appeal of many of these old tractors. Sometimes alternators don’t fit under the tractor’s hood, or there are no available pulleys to power them. For those situations I will explain how to rewind your stator and get your system charging again.
How do Stators Work?
Let’s begin with the basic operating theory of a stator. A stator is an electromotive device that produces electrical current when magnets are rotated around it.
Faraday’s Law of Magnetic Induction explains to us that when a magnetic field surrounding a coil of wire changes, electricity is produced. It doesn’t matter if the magnetic field changes direction, polarity, or direction, any change in the field will produce voltage in the winding.
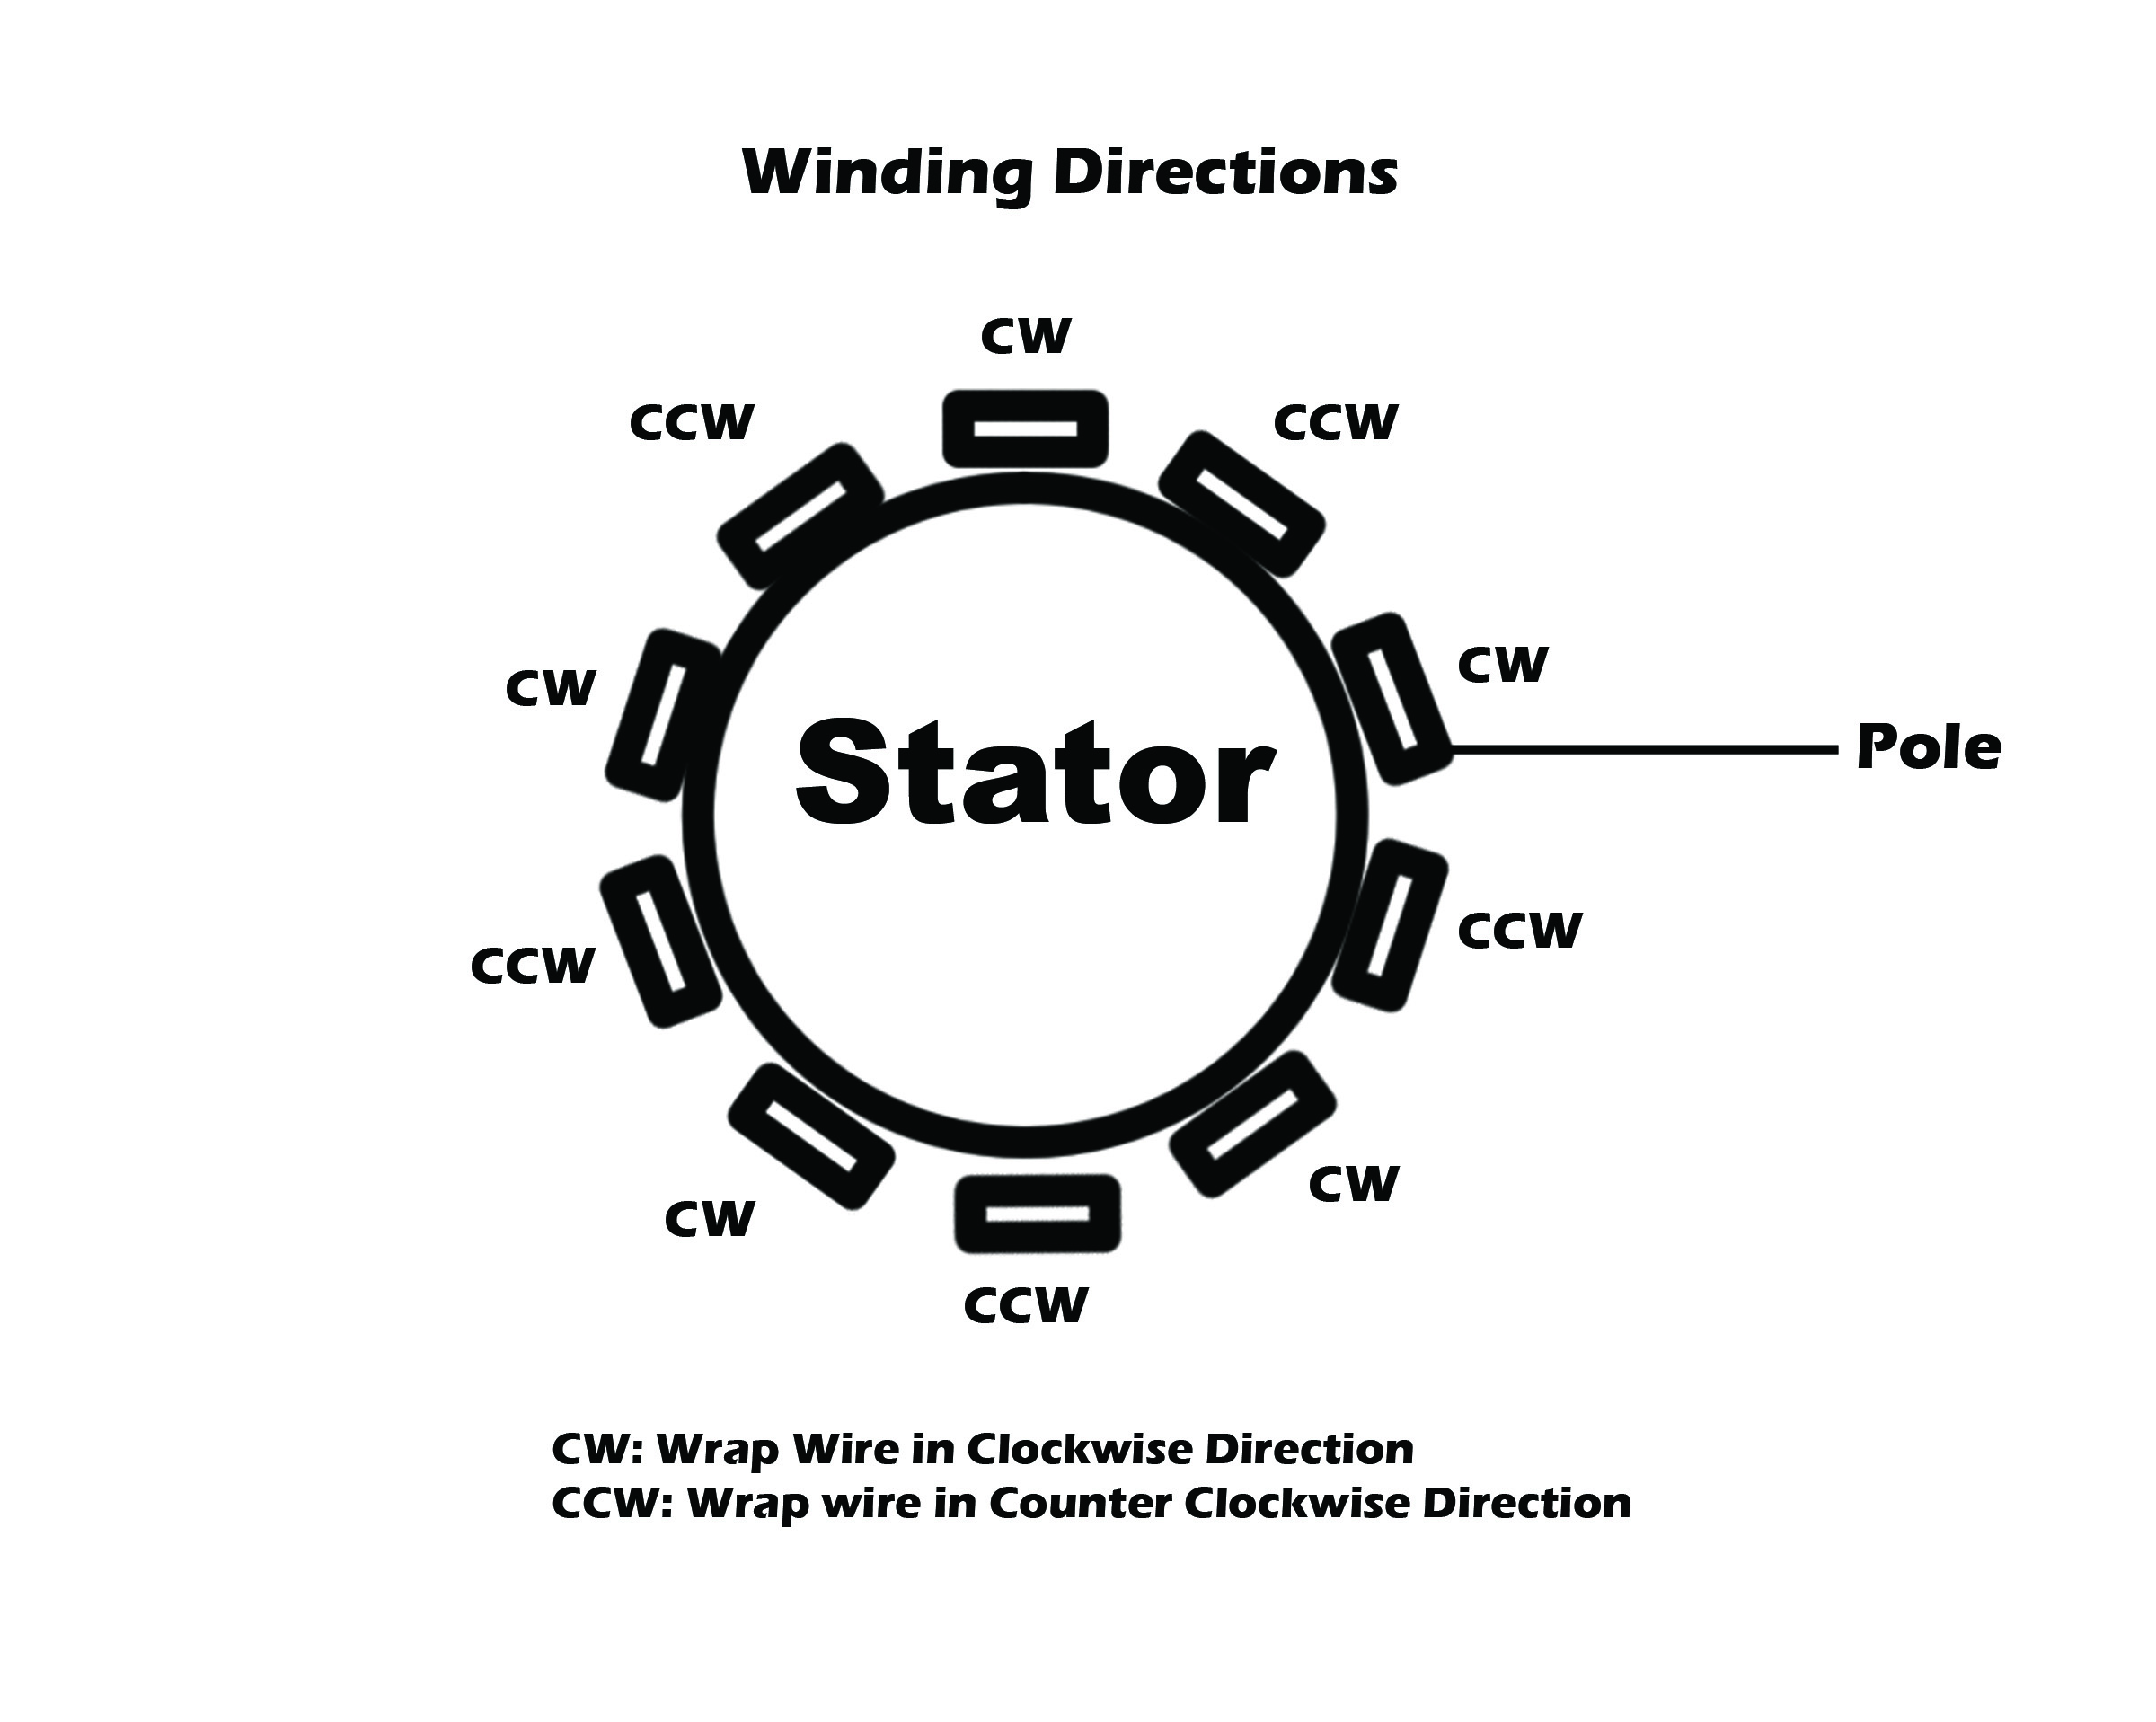
A single phase stator which is the most common type of stator used in old Garden Tractors consists of a single wind of copper wire, which is wound around many poles of a laminated metal core. The laminated metal core helps multiply lines of the magnetic field. Each pole has copper wire wound around them in alternate directions. The inside of your engine’s flywheel is lined with magnets in alternating polarities (Positive and Negative Polarity).
Each times the magnets pass over the stator poles, electricity is produced. Since each magnet has the opposite polarity of the one before it, an alternating current is produced. The current can be expressed in a sine wave.
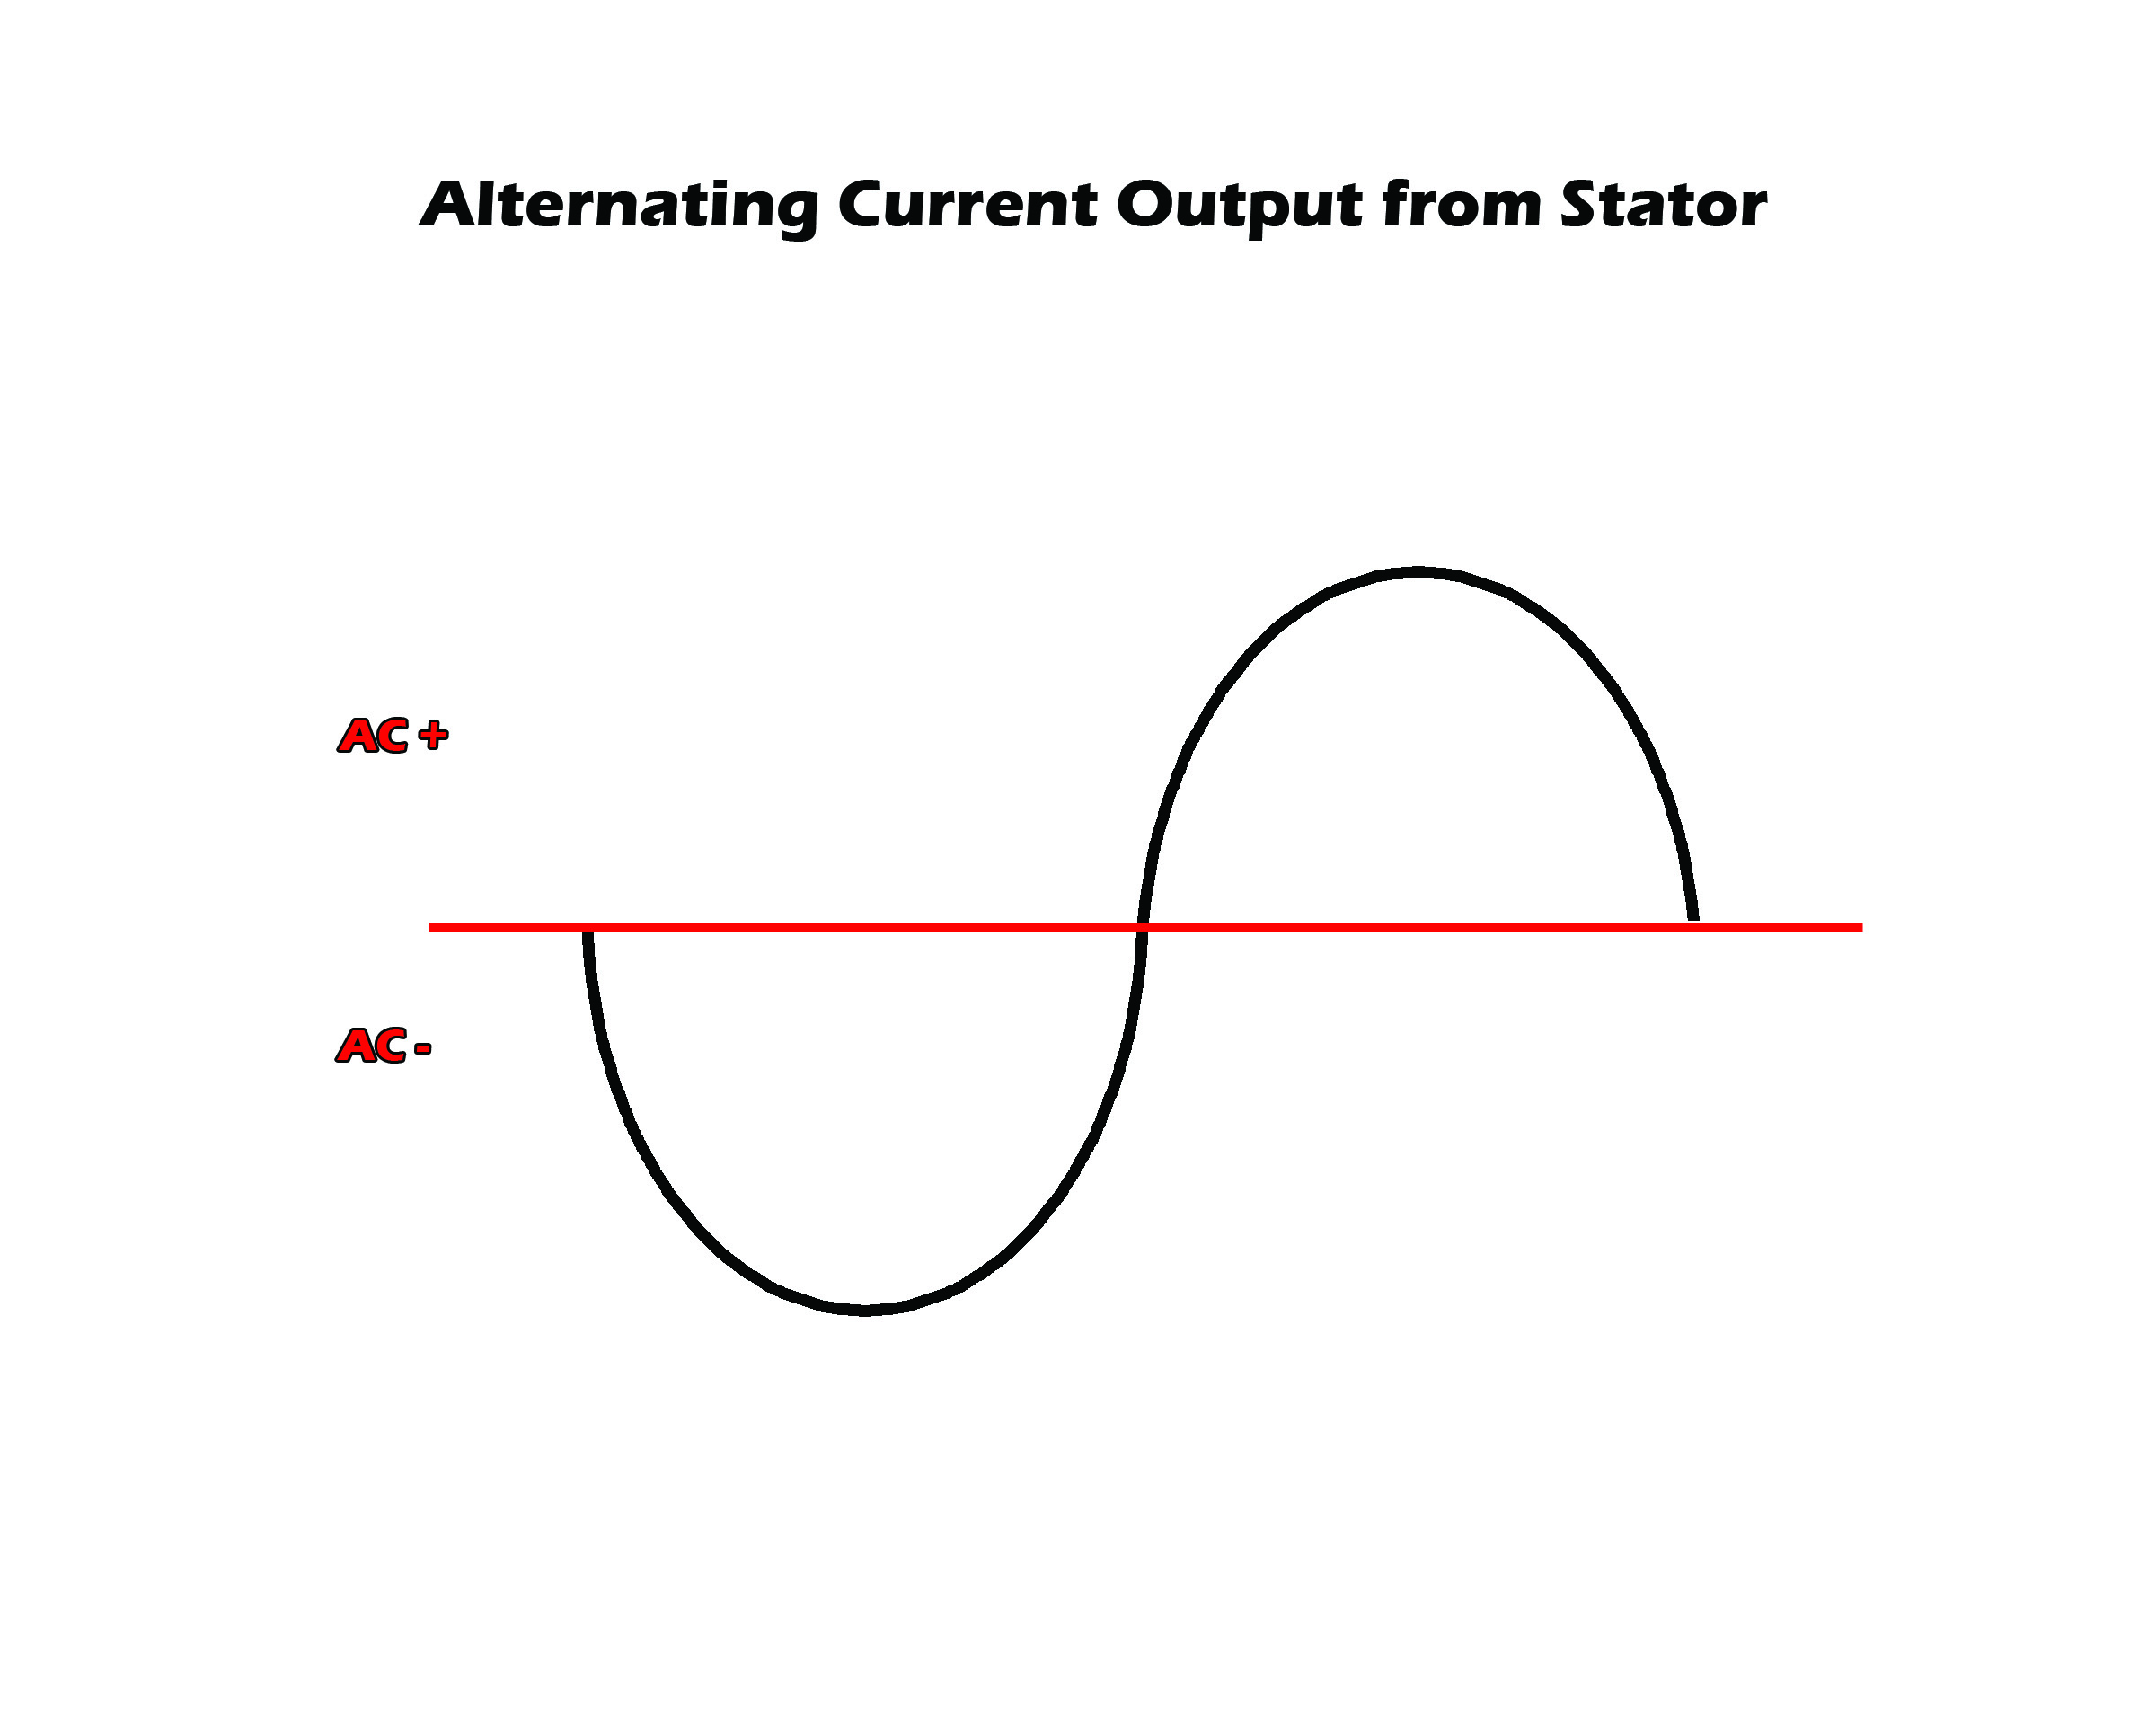
This alternating current is then converted to direct current through a regulator rectifier, and is fed to your battery; charging it.
Now that I’ve covered the basics of how a stator works let’s discuss how to rewind one. First you will need the following:
- Pliers, Dremel Tool, Epoxy, Copper Magnet Wire, Solder, Soldering Iron, 12 Gauge Copper Strand Wire
Before Your Begin
Before you begin with your stator examine the copper windings and make note of the following:
- -How many turns of wire each pole has. Alternatively you can just measure the outer diameter of the wire with a caliper and match that when you put the new winds on.
- -The gauge thickness of wire. In the photo example I used 18 gauge wire.
Remove the old Winding
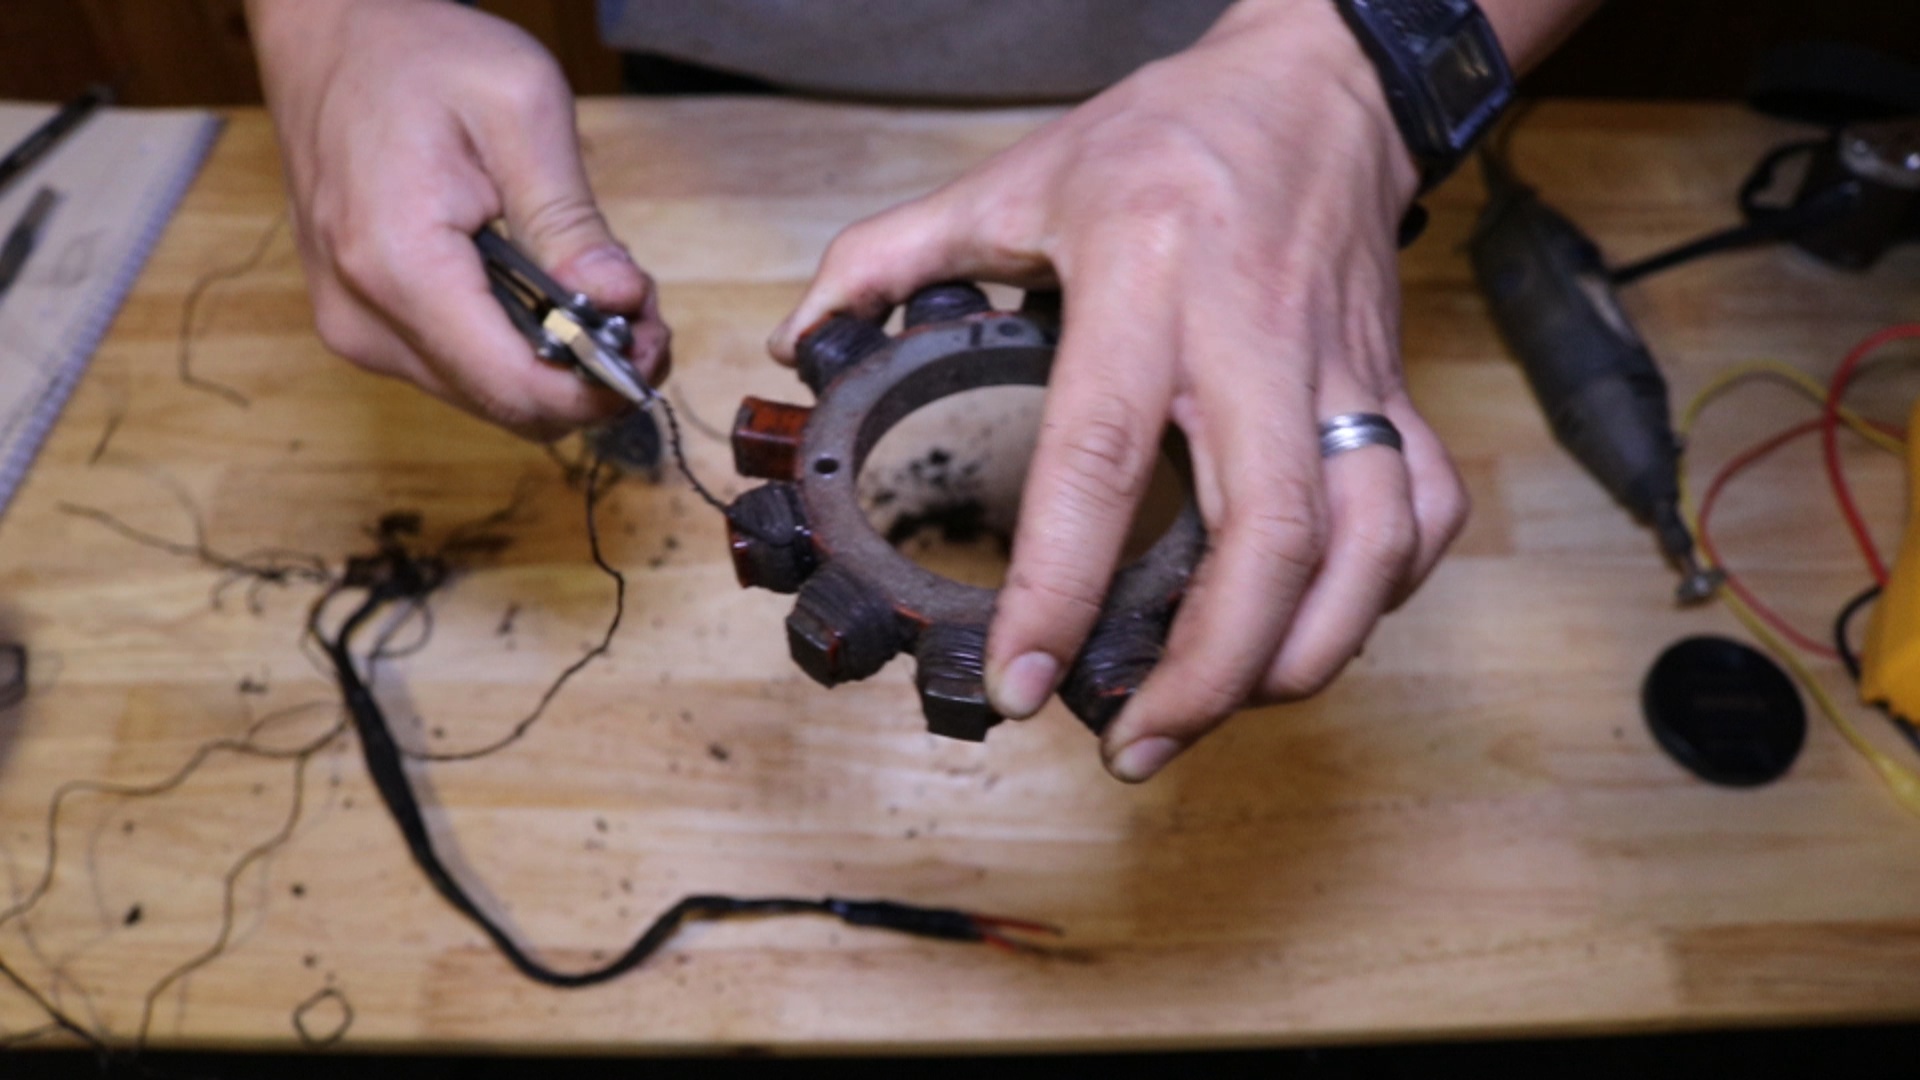
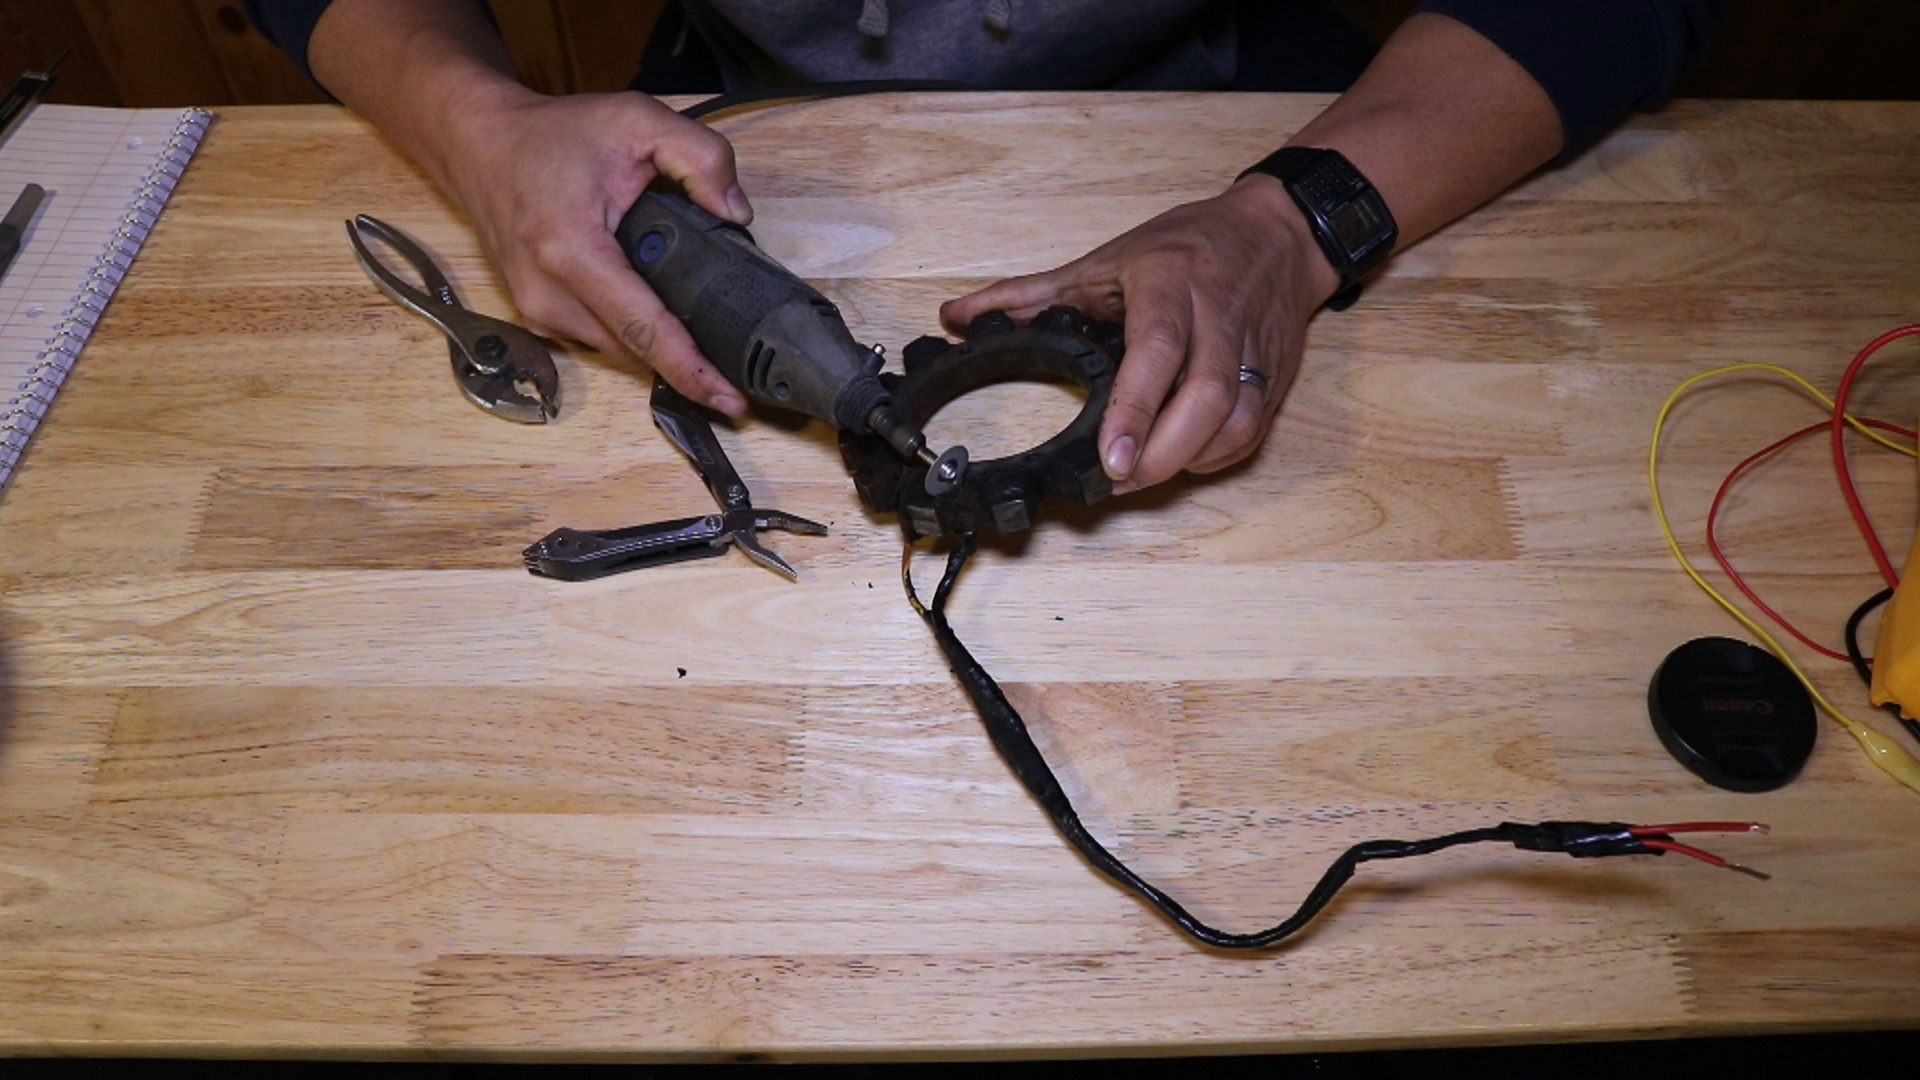
The first step to rewinding your stator is to remove the old winding. You can use your Dremel tool with a cut off wheel to begin to cut into the copper wires. Be careful not to cut too deep and damage the iron core. Just cut enough to get a few wires deep. Now you can use pliers to peel back the copper wire. Be careful as some of the old epoxy around the wires may be sharp. Just carefully keep peeling back the wires. You will eventually come to a point where it will just unspool off of the stator core.
Once all of the wire windings have been removed, you are left with the stator core. Examine each pole. All stators will have some kind of barrier that is between the stator core and the copper windings. Sometimes it’s high temperature transformer paper, epoxy, or other insulator. Examine each pole and repair any missing insulation. You can use an epoxy, plasti-dip, or other similar material.
Set Up Your Wind
Before you begin rewinding you will need to set up a digital multi-meter set to continuity. You will first begin by scraping off the clear varnish insulation on your copper magnet wire. You can use a small knife, and you only need to scrape off about an inch off of the starting point of the wire. Using alligator clips, you will connect one lead of your digital multi-meter to this section of wire, and then connect the other lead to your stator core. The multi-meter will now alert you if you accidentally cut into the insulation as you are winding the wires.
Rewind Your Stator
Now that you have removed your old windings, prepped your stator core, preparing your wire, set up your multi-meter, you are now ready to begin winding.
As you wind your stator keep in mind, each pole is wound in the opposite direction of the one before it. So if you begin with your first pole by winding the wire in a clockwise direction, you will wind the second pole in a counter clockwise direction, and so forth. Carefully wrap each pole with the number of windings you noted before. You want the wires to be wound tight to each other.
Finishing Your Stator
Once you have wrapped all of the poles in alternating directions, it’s time to finish the stator and make it so it will be able to plug into your regulator/rectifier.
Cut the copper wires to the appropriate length, and solder copper strand wire to the magnet wire. You can use a gauge of wire similar or thicker to the magnet wire. Be sure to add heat shrink tubing around your solder joints to insulate against any shorts.
After you have made your connections, you need to secure the newly wound coppering windings. This is accomplished by coating the outside of your windings with an epoxy. This epoxy will prevent any of the wires from shaking loose from the engine vibrations.
Finish off your stator by adding terminal ends to the stranded wire, and you’re finished!
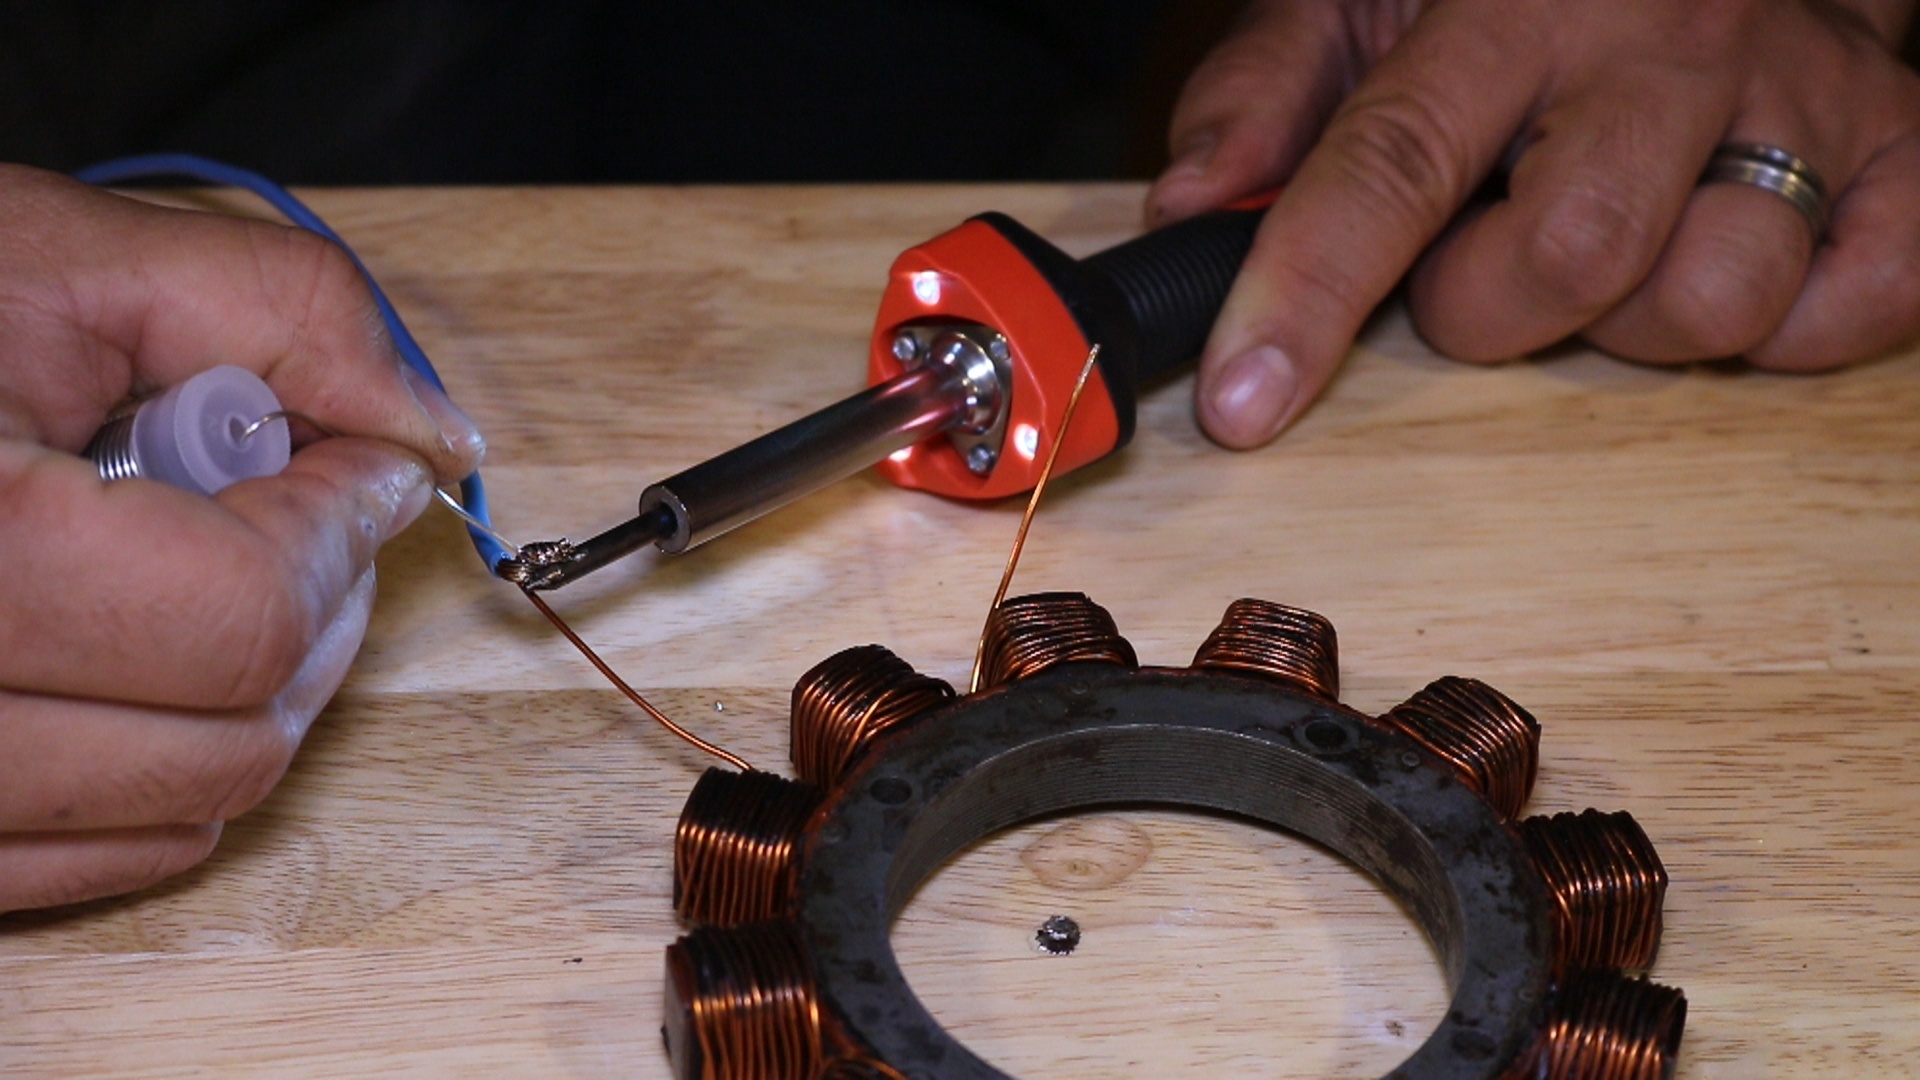
Soldering Ends of Stator Windings
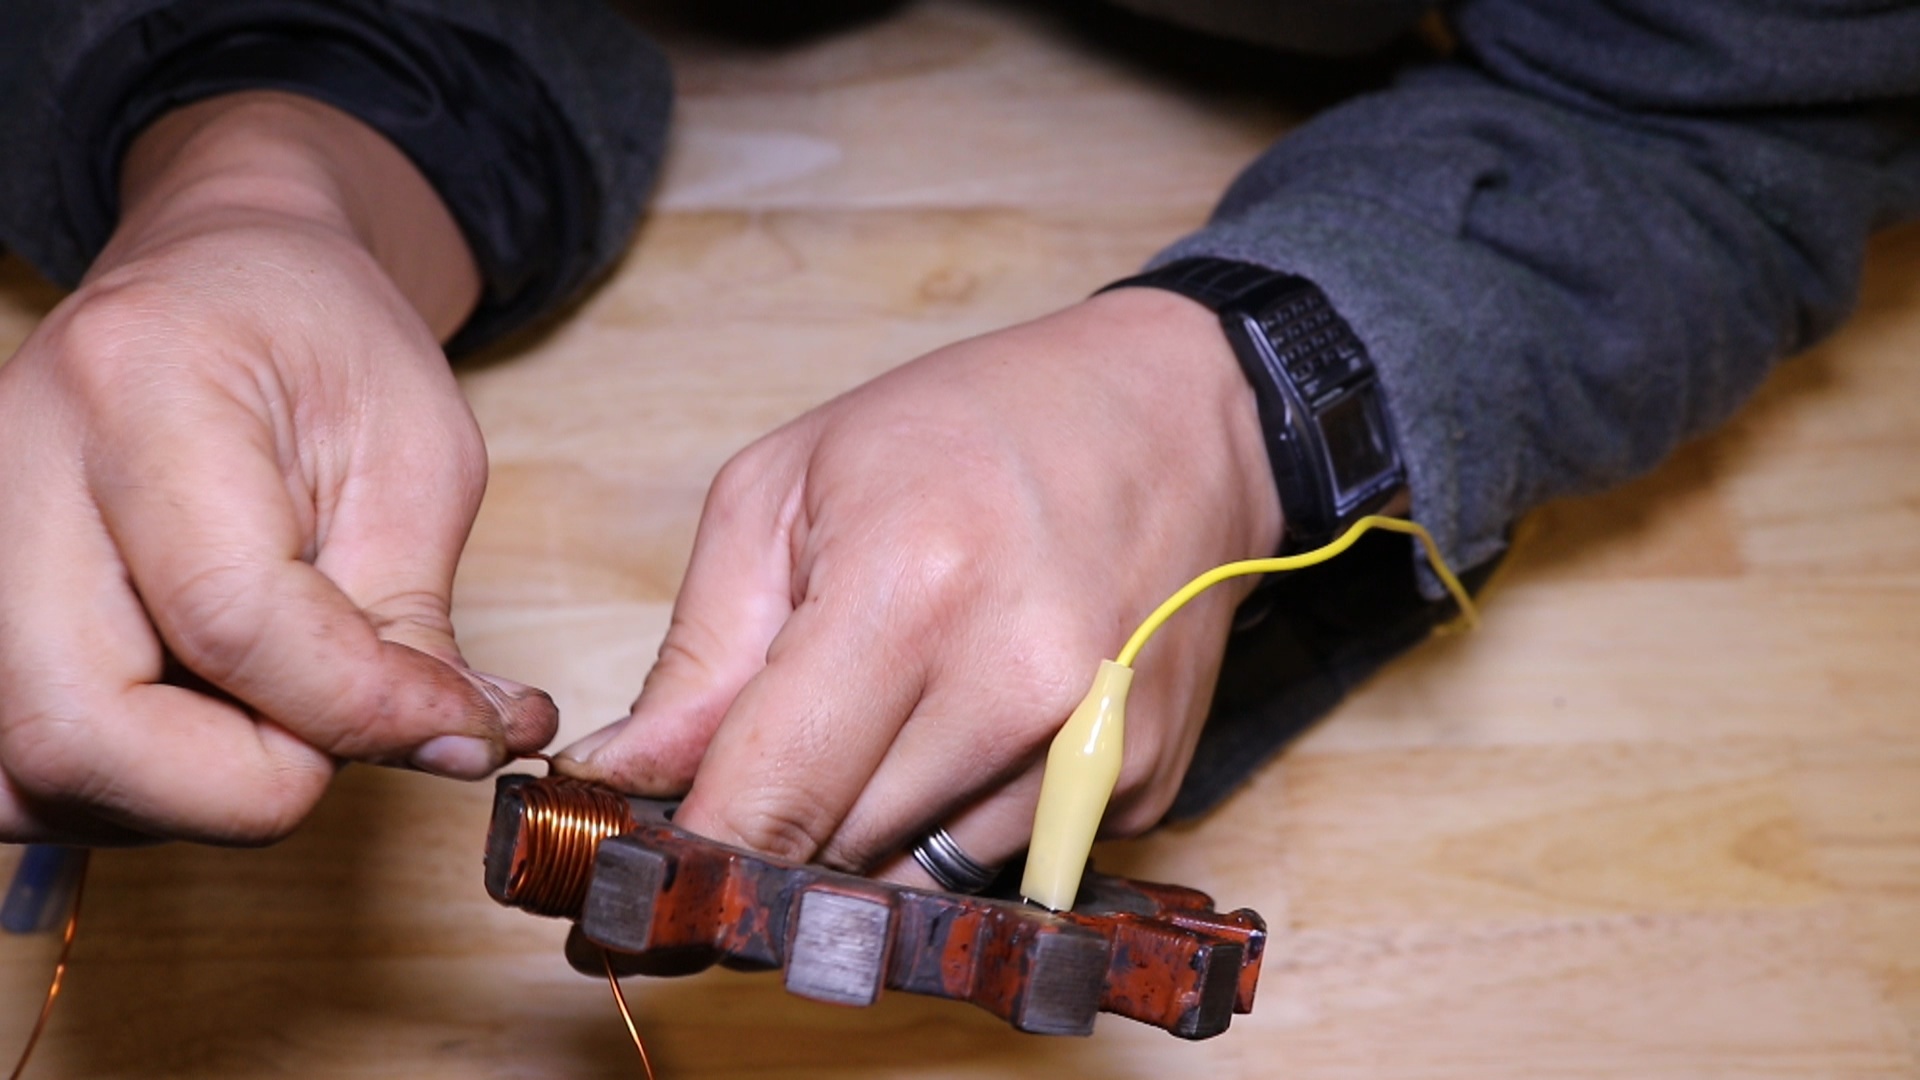
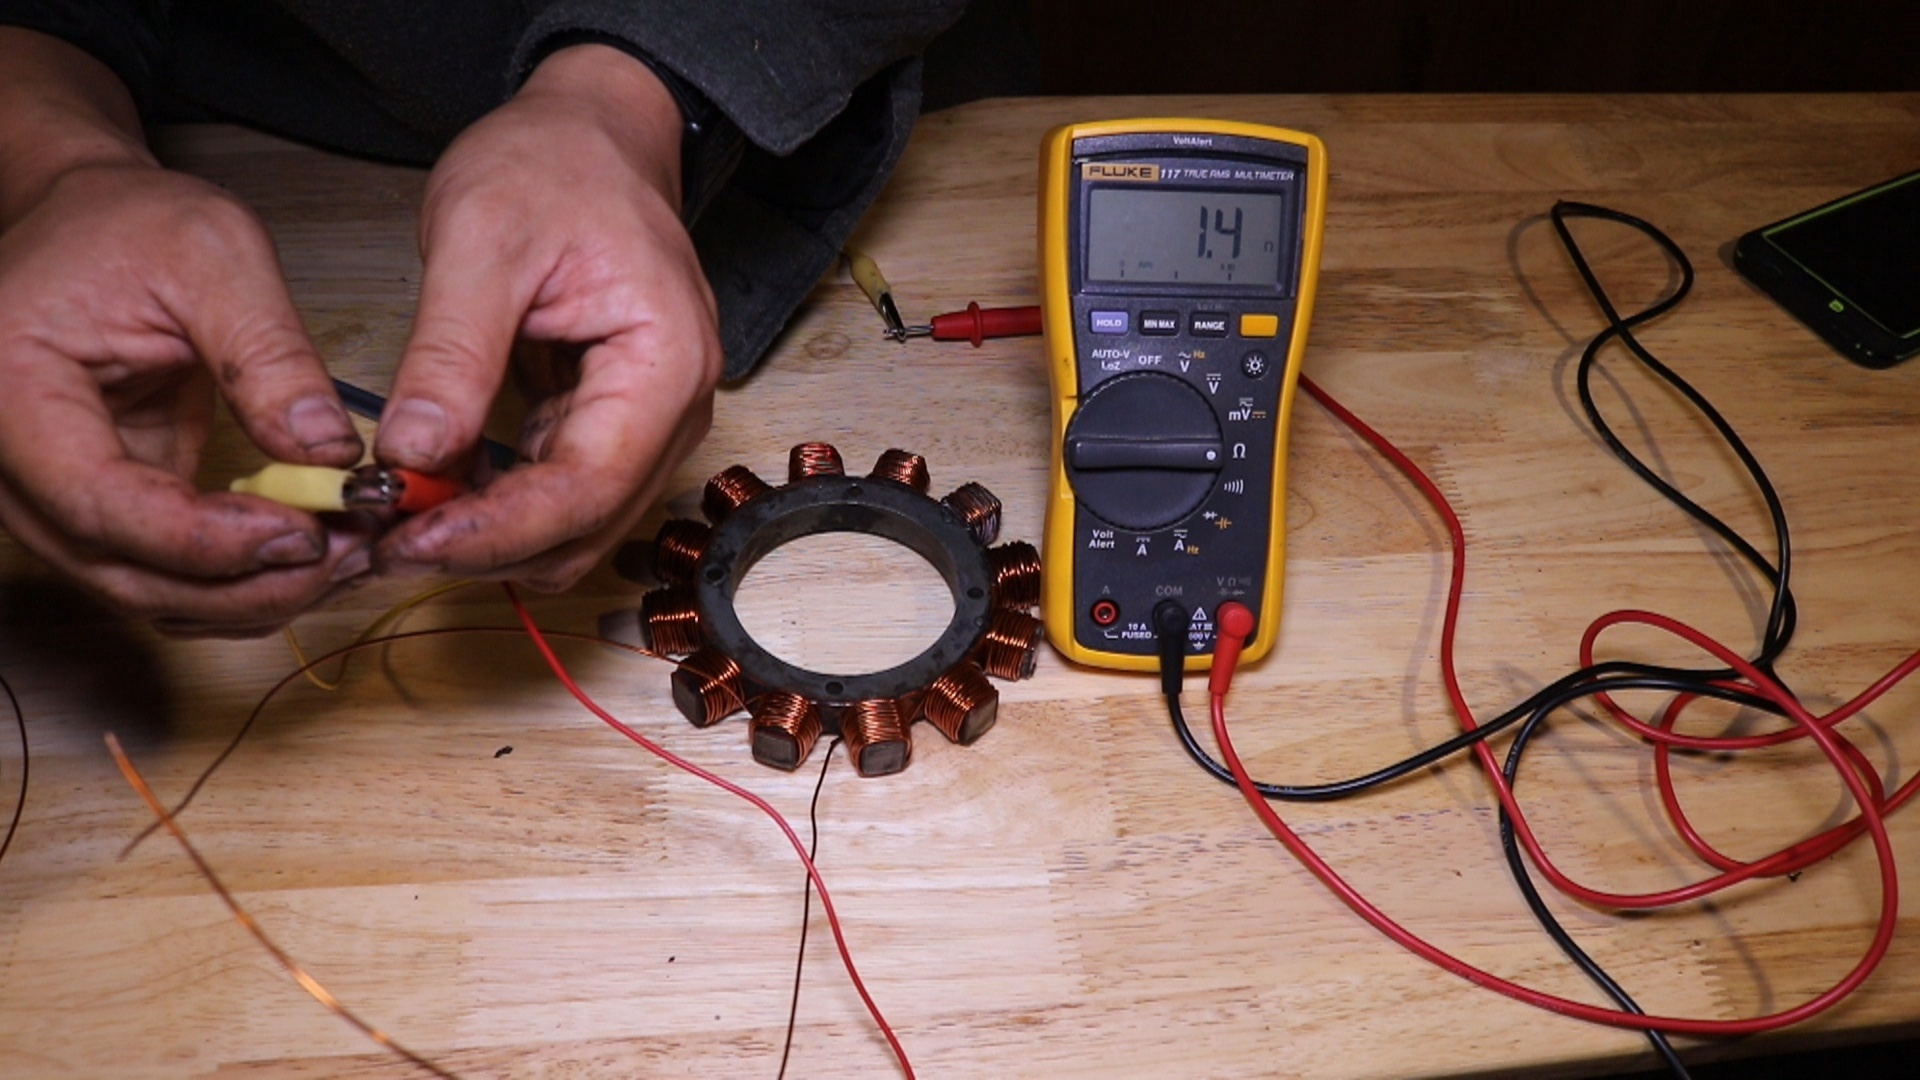
Testing Stator with Digital Multi Meter
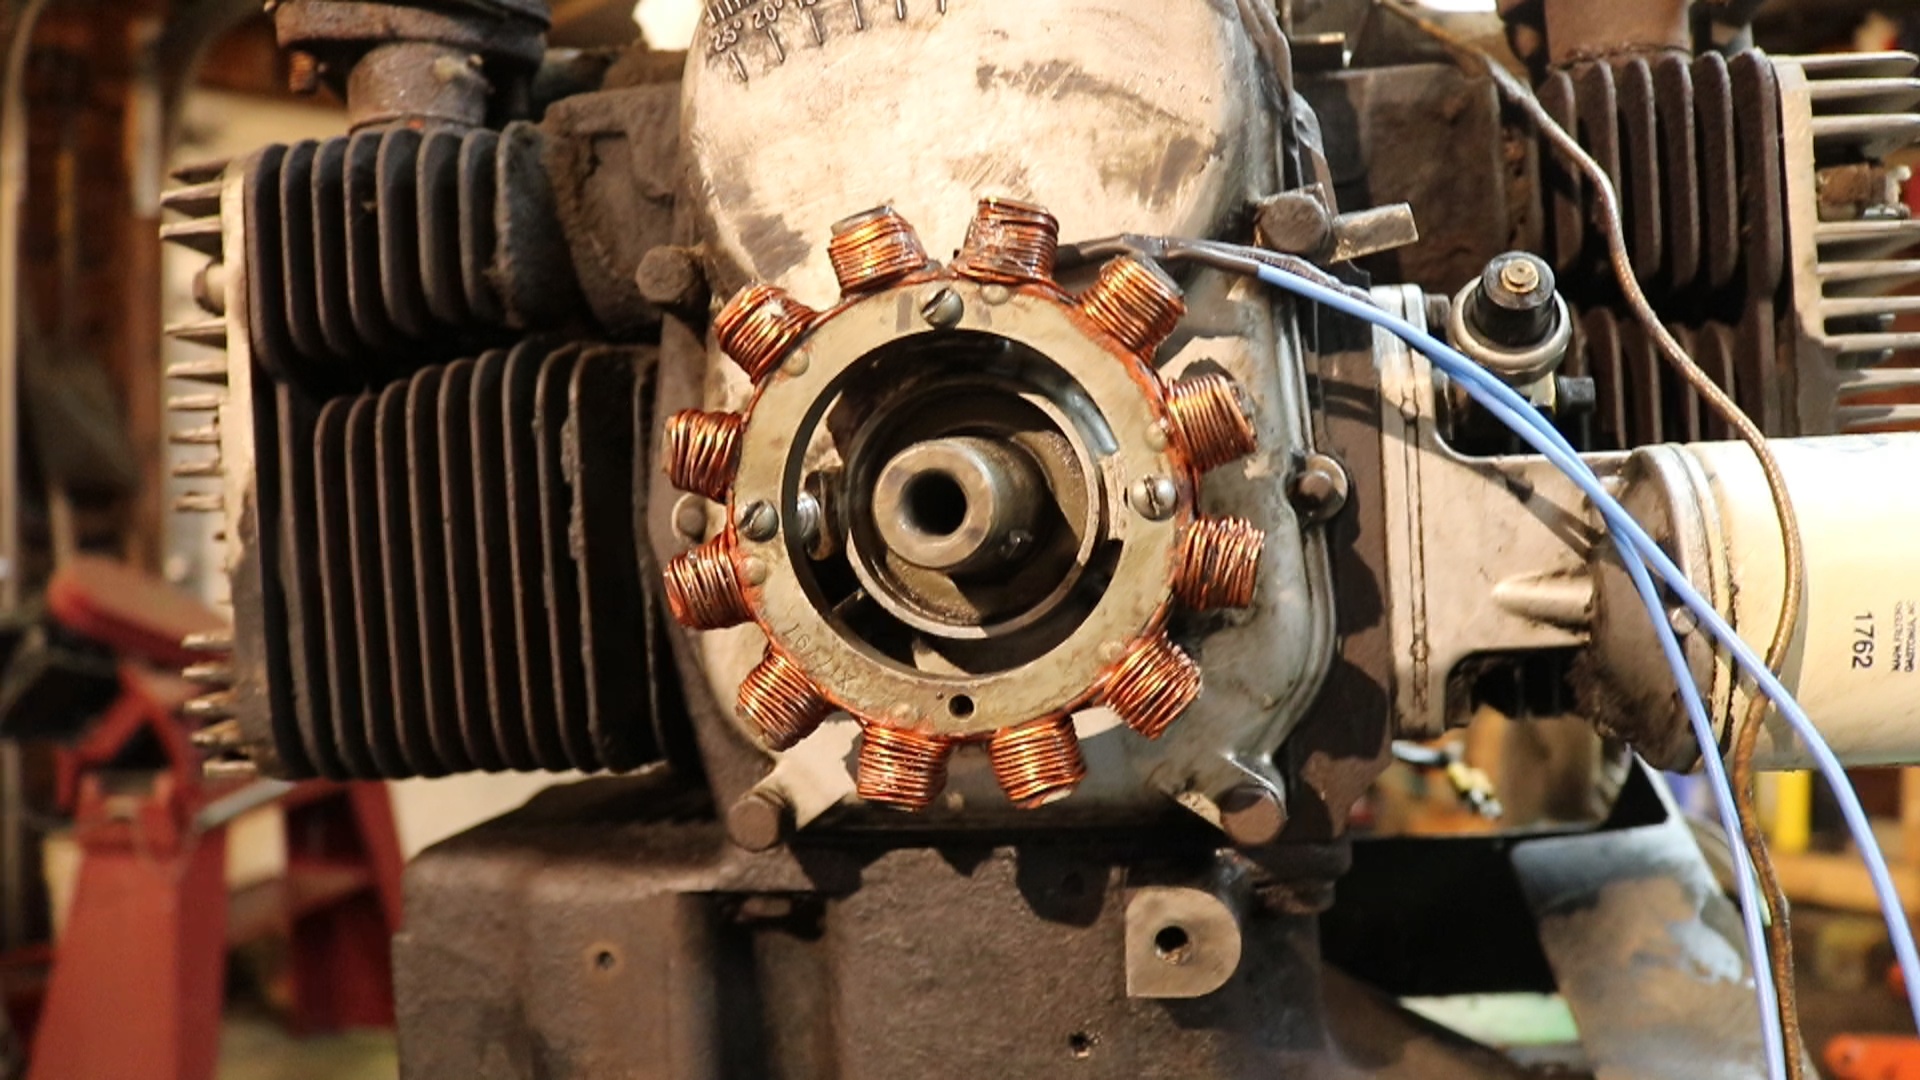
Finished Stator on Onan CCK Engine
What to Do if You Make a Mistake
As discussed previously, while you’re winding the wire around the stator poles, your digital multi-meter is monitoring for shorts. If your meter beeps indicating a short, don’t panic, you don’t need to start all over. The beep means you have accidently cut the varnish insulation of the magnet wire. This commonly will happen at the sharp 90 degree bend on the poles. If this happens, simply reposition the wire so the cut insulation portion does not touch the stator core. Once you reposition this wire, you can continue winding.
Many people are intimidated by electrical systems and repairs. I hope this article gives you the confidence to repair your stator. Repairing your stator is not expensive, doesn’t require many tools, and will help you maintain your tractor and engine’s original functionality.
Thank you for saving the tractors,
- -Norman Ng, iSaveTractors
Recent Posts
-

Engine Science: Rewind Your Small Tractor Engine Stator - Charging System Repair
Engine Science: How to Rewind Your Statorby Norman Ng, Founder of iSaveTractorsYour engine’s stator …Sep 10th 2020 -

Engine Science: The Digital Multi-Meter
The ability to detect, observe, and measure electricity is crucial when trying to understand how a …May 7th 2019 -

5 Common Small Engine Rebuilding Mistakes
The engine is the heart of your garden tractor. When performing heart surgery on your tractor, be aw …Jan 4th 2019